
Before
As you can see in this before picture, there was evident water seepage into this basement. Even if it would dry after a rainy season, the damage was still there. Toward the bottom of the walls, near the floor, you could see where mold and mildew were forming. Toward the top of the walls, you can see the yellowing/ rusting where the years of water damage were finally showing.

During
Just a few items needed for the job!

During
Dylan is hard at work laying the WaterGuard down.

During
Louis hard at work, adjusting the SumpPump.

During
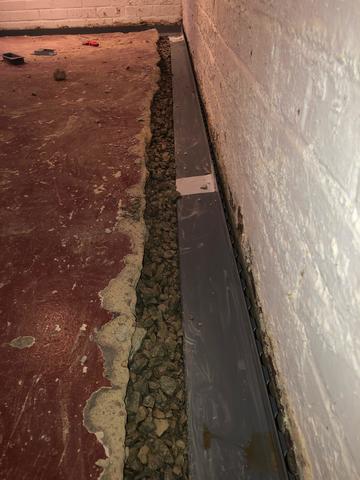
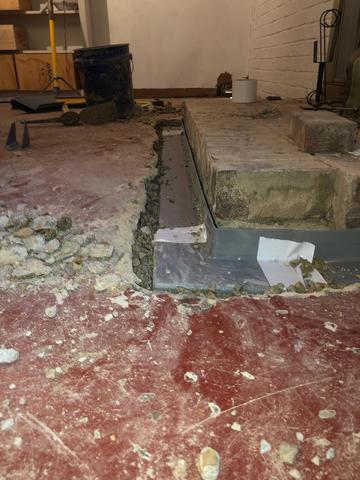
The WaterGuard and gravel have been laid. The last step is to cover it with cement to seal everything back together!!
During
The WaterGuard and gravel have been laid. The last step is to cover it with cement to seal everything back together!!
During
The WaterGuard and gravel have been laid. The last step is to cover it with cement to seal everything back together!!
During
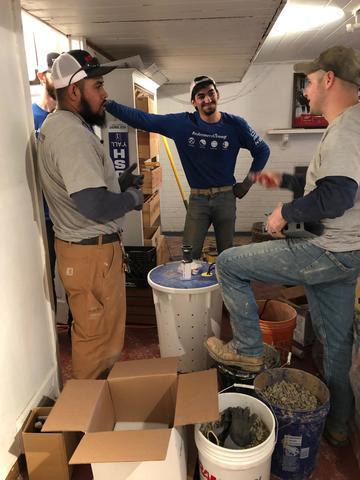
The crew discussing the GAME PLAN!!

During
Just a few items needed for the job!

During
The corner of this basement had definitely seen better days! The water seepage had not only cause paint damage, but had also resulted in the erosion of the brick walls.
During
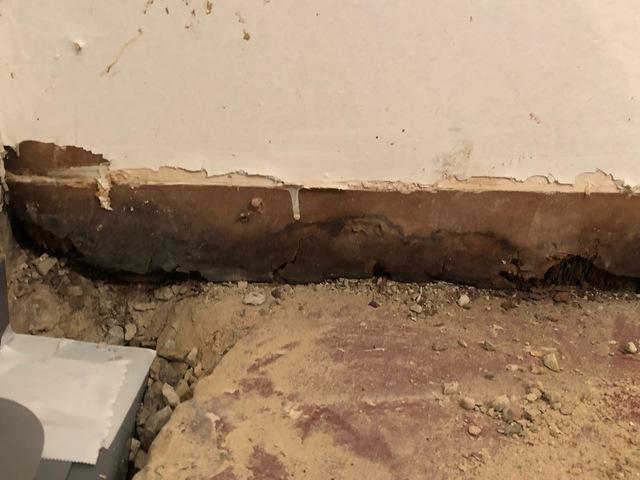
As you can see on this piece of wood near the floor, the water seepage eventually caused the wood to rot and become moldy and mildewed.

During
The hole for the pump has been dug and all that's left is for it to be installed!